Gear & Tackle
How to Set Up a Fishing Rod From Scratch
Step-by-step guide to assembling a rod, mounting a reel, spooling line, and rigging a hook and bobber for your first day of fishing.
Setting up a fishing rod from scratch takes about fifteen minutes once you know the order of steps. This guide walks you through every part of a fishing rod setup for beginners, from clicking the reel into place to lowering your first baited hook into the water.
What You Need Before You Start
Gather everything first so you are not hunting for items mid-setup.
Gear checklist:
- Spinning rod (one piece or two piece)
- Spinning reel
- Monofilament line (6 lb to 10 lb test is a good starting point for panfish, bass, and trout)
- Size 6 or size 8 hook (a simple bait hook or J-hook works for most beginners)
- Split-shot sinkers (small round weights that pinch onto the line)
- Clip-on bobber or slip bobber
- Scissors or nail clippers
If you are still deciding which rod or reel to buy first, see spinning reel vs baitcaster: which should you buy first for a clear breakdown. The steps below assume a spinning setup, which is the most forgiving combination for new anglers.
Step 1: Assemble the Rod
If your rod is a two-piece model, slide the sections together so the guides (the small rings along the rod) line up in a straight row from butt to tip. Most joints have an alignment mark or a small dot. Push the sections together firmly until you feel them seat. A loose joint will cause the guides to twist out of line and can stress the blank.
Single-piece rods skip this step entirely.
Check that:
- All guides face the same direction (downward when the rod is held handle-up)
- The reel seat, the grooved collar near the handle, faces forward
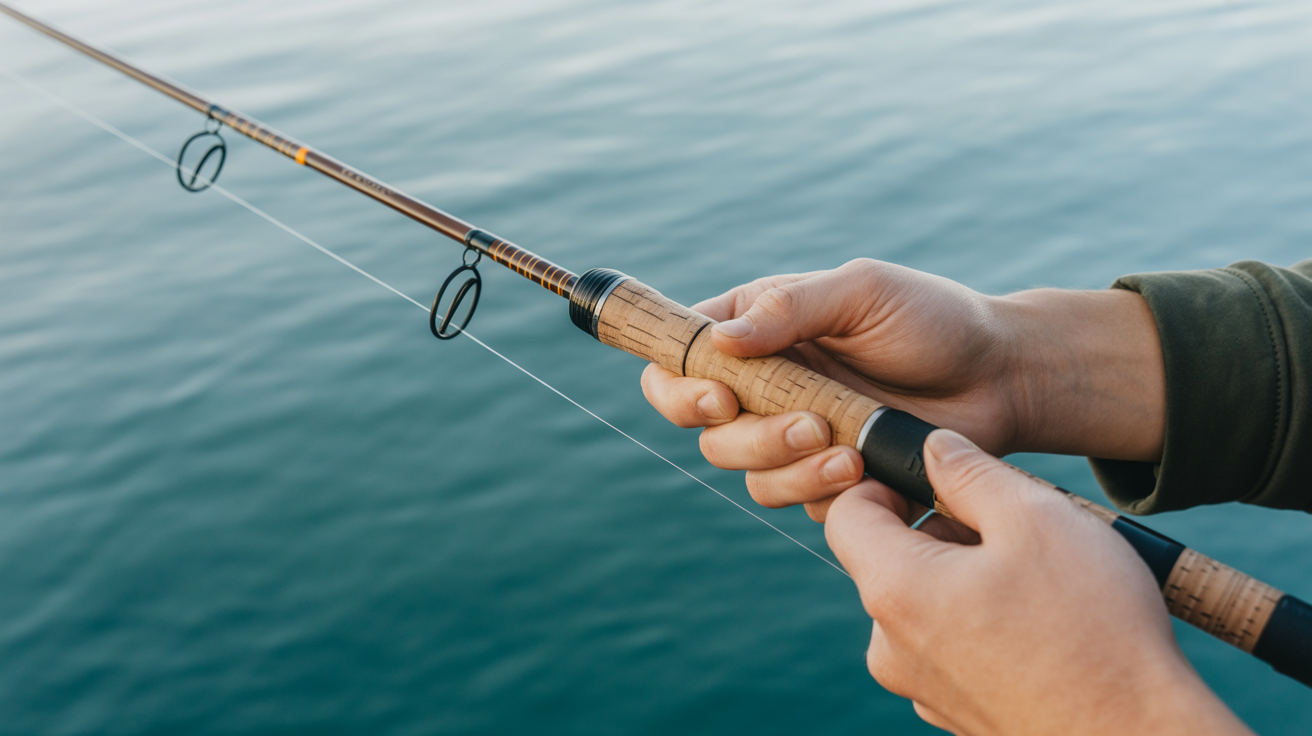
Step 2: Mount the Reel
The reel seat has a fixed hood at one end and a threaded locking ring at the other. To attach the reel:
- Slide the reel foot (the flat bar at the base of the reel) into the fixed hood.
- Thread the locking ring forward until it clamps down on the other side of the reel foot.
- Give the ring an extra quarter turn so the reel does not wobble.
The bail, the wire arm that flips up and down on the reel, should be on the same side as the guides. Hold the rod in a fishing position. If the reel hangs below the rod and the guides face down, the setup is correct.
A spinning reel handle is reversible on most models. Right-handed anglers typically crank with the left hand so the right hand stays on the rod. Swap the handle if needed by unscrewing the cap on the opposite side.
Step 3: Run Line Through the Guides
Open the bail by flipping it up. Thread your line through each guide, starting with the guide closest to the reel and working toward the tip. Do not skip any guides. A skipped guide concentrates stress and reduces casting distance.
To check your work: with the bail still open, hold the rod tip up and look down the rod. The line should pass through the center of every ring in a clean, straight run.
Leave about two feet of line hanging past the tip guide for now.
Step 4: Spool the Reel
Spooling line onto the reel is where most beginners pick up line twist, which causes tangles called "wind knots." A simple technique prevents most of it.
- Tie the line to the spool with an arbor knot: wrap the line around the spool arbor, tie an overhand knot around the standing line, then tie a second overhand knot at the tag end as a stopper. Pull tight.
- Close the bail.
- Lay your spool of new line on the floor label-side up.
- Hold the line between two fingers to create light tension, then crank the reel handle slowly.
- Fill the spool to about an eighth of an inch from the rim. Underfilling cuts casting distance; overfilling causes the line to spill off in loops.
Choosing the right line type matters more than most beginners expect. Fishing line explained: mono vs braid vs fluorocarbon covers the differences and which one makes sense for your first setup.
Step 5: Tie on a Hook
The improved clinch knot is the most practical knot to learn first. It holds well with monofilament, is quick to tie, and works on nearly any terminal tackle.
Improved clinch knot steps:
- Thread about six inches of line through the hook eye.
- Wrap the tag end around the standing line five times, working away from the hook.
- Pass the tag end back through the loop closest to the hook eye.
- Pass the tag end through the large loop you just created.
- Wet the knot with saliva or water, then pull the tag end and standing line slowly in opposite directions until the coils tighten against the eye.
- Trim the tag end to about a quarter inch.
Test it by pulling on the hook and line firmly before you trust it. If the knot slips, re-tie it. A failed knot loses the fish and any tackle attached to it.
Handle the hook point carefully throughout. A resting rod pointed at the ground is safer than one angled toward you or anyone nearby.
Step 6: Add Weight and a Bobber
For a classic beginner rig, you need a sinker to carry the bait down and a bobber to show when a fish bites.
Assembly order on the line above the hook:
| Item | Position above hook | Purpose |
|---|---|---|
| Bobber (clip-on) | 1 to 3 feet | Shows bites, suspends bait at depth |
| Split-shot sinker | 6 to 8 inches | Pulls bait below surface, holds depth |
To attach a clip-on bobber, press the top and bottom buttons at the same time, hook the line in the notch, then release. The bobber should slide onto the line snugly but still be adjustable.
To attach a split-shot sinker, lay the line in the groove of the sinker and press the two halves together with your thumbnail or fishing pliers. Do not bite sinkers, since many older ones contain lead.
Adjust the bobber higher or lower to change how deep your bait sits. Start at about two feet of depth and adjust based on where you see fish or where you are getting bites.
Your Complete First Rig at a Glance
- Rod assembled, guides aligned
- Reel seated and locked in the reel seat
- Line threaded through every guide
- Reel spooled to within an eighth inch of the rim
- Improved clinch knot holding a size 6 or 8 hook
- Split-shot sinker six to eight inches above the hook
- Clip-on bobber one to two feet above the sinker
Bait the hook through the body of a live worm, a wax worm, or a small piece of cut bait. Lower it to the water, flip the bail closed, and watch the bobber. When it dips or pulls sideways, lift the rod tip quickly and keep tension on the line.
Before your first trip, confirm that you have a valid fishing license for your state or province. Regulations on size limits, seasons, and legal bait vary by water and change often. Your local fish and wildlife agency publishes current rules online.
Frequently Asked Questions
How do I keep my line from twisting when I spool the reel?
Lay the new line spool on the ground with the label facing up as you wind it onto the reel. This matches the direction the line comes off the manufacturer's spool to the direction it goes onto yours. Light finger tension while spooling also reduces slack that builds into twist.
What pound test line should a beginner use?
Six to ten pound monofilament covers most freshwater situations. Use lighter line for small panfish in clear water and heavier line for larger bass or catfish in snaggy cover. When in doubt, eight pound mono is a reasonable all-around starting point.
How do I know if my guides are damaged?
Run a cotton ball or piece of nylon through each guide. If the cotton snags or picks up fibers, the guide insert is cracked or chipped. A damaged guide cuts through line under casting stress, which leads to losing fish and tackle. Replace cracked guides before fishing.
Can I use the same setup for different fish?
A basic spinning setup with six to eight pound mono and a size 6 hook rigged with a bobber and split-shot will catch panfish, small bass, and perch in most ponds and lakes. For larger species or different water types, you may want to adjust hook size, line weight, and rig style. How to choose a fishing rod: length, power, and action explained covers how rod specs affect what the gear is best suited for.
Why does my line keep coming off the reel in loops?
This usually means the reel is overfilled. Trim the spool back so the line sits about an eighth of an inch below the spool rim. If loops persist, check that you closed the bail before casting and that you are not spooling with too little tension on the incoming line.