Knots & Rigs
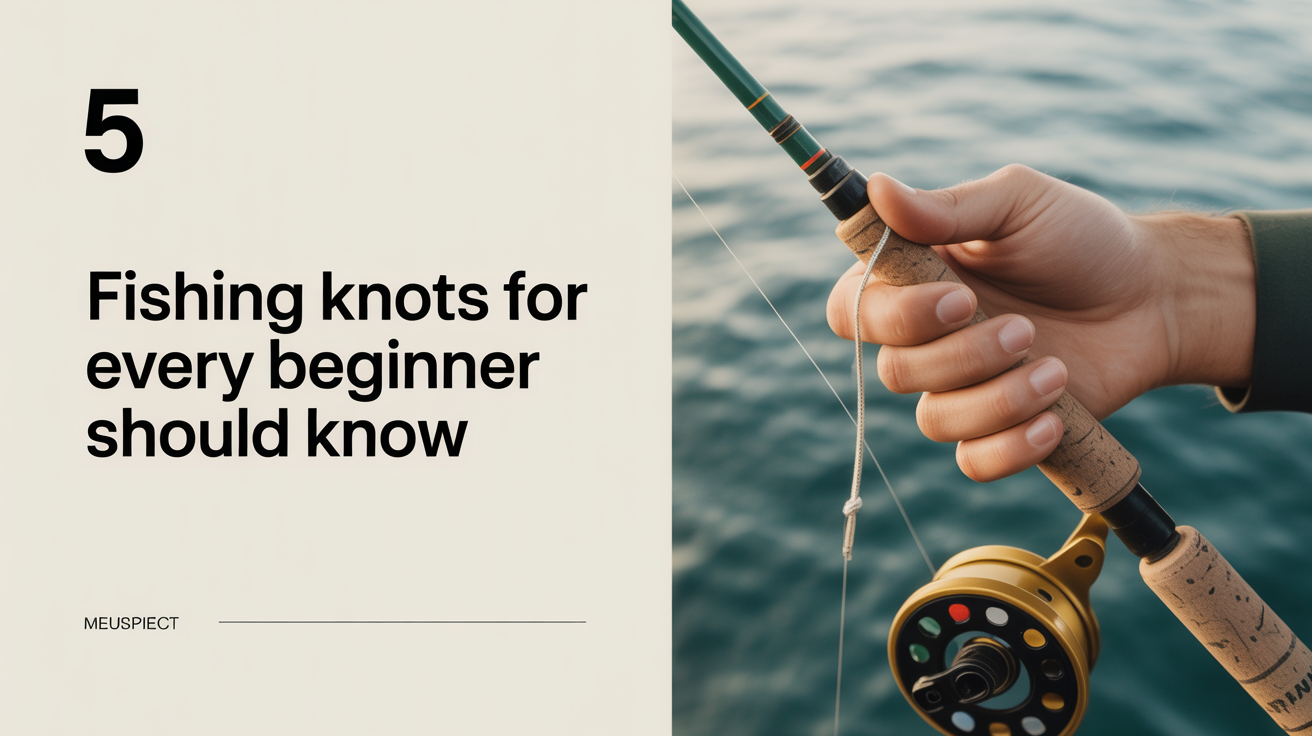
5 Fishing Knots Every Beginner Should Know
Learn the five essential fishing knots every beginner needs: improved clinch, Palomar, uni, loop, and line-to-line knots with step-by-step tying instructions.
Knots fail at the worst moments. A bass rolls on the surface and the line parts; a trout makes a downstream run and the hook pops off clean. Nine times out of ten the problem isn't the line's rated strength, it's a knot that slipped or cinched unevenly. Learning five reliable knots before you head to the water covers nearly every freshwater situation you'll run into.
These aren't the only knots in fishing, but they're the ones that matter most when you're starting out: two for attaching terminal tackle to monofilament or fluorocarbon, one that shines on braided line, one that gives soft plastics and lures a natural swimming action, and one for building a mono-to-braid leader connection. Master these and you'll be better equipped than most anglers you'll share a bank with.
| Knot | Best Use | Works Best On |
|---|---|---|
| Improved Clinch | Hook or lure to mono/fluoro | Mono, fluorocarbon |
| Palomar | Hook or lure to any line | Mono, fluoro, light braid |
| Uni Knot | Hook to any line; versatile all-rounder | Mono, fluoro, braid |
| Non-Slip Mono Loop | Lures and swimbaits needing free action | Mono, fluorocarbon |
| Double Uni | Joining two lines of similar diameter | Mono-to-mono, mono-to-fluoro, light braid |
1. Improved Clinch Knot
The improved clinch is the first knot most anglers ever tie, and it earns that position. It's fast, requires no extra tag line, and holds well on monofilament and fluorocarbon with hooks, snap swivels, and small lures. On braid, the knot can slip under hard pressure, use the Palomar or uni instead for braided line.
For a detailed walkthrough with diagrams, see our guide on how to tie an improved clinch knot.
What it's for: Attaching a hook, split-ring lure, or snap swivel to mono or fluorocarbon leader.
Steps:
- Thread 6–8 inches of line through the hook eye and double it back alongside the standing line.
- Wrap the tag end around the standing line five times (four wraps on heavier line above 20 lb).
- Pass the tag end through the small loop formed just above the hook eye, the loop between the eye and your first wrap.
- Now bring the tag end back through the large loop you just created by that last pass.
- Wet the knot with saliva or water, then pull the standing line and hook in opposite directions to seat it.
- Trim the tag end to about 1/8 inch.
The extra tuck in step 4 is what makes this the improved version. Without it, the basic clinch can peel under load on slicker line. Five wraps is the standard on lines up to about 12 lb; drop to four wraps on 17–20 lb line because the thicker diameter makes the coils harder to seat properly.
2. Palomar Knot
The Palomar is widely regarded as the strongest easy hook-attachment knot available. Because you pass a doubled length of line through the hook eye, the load gets distributed across two strands at the critical connection point. Strength tests put it consistently near 95–100% of line strength when tied correctly.
It works on mono, fluorocarbon, and light-to-medium braid. On heavy braid (50 lb and up), the doubled line can be bulky enough to seat inconsistently, the uni knot handles those situations better.
Our full guide covers the Palomar knot in detail, including common mistakes that reduce its strength.
What it's for: Attaching hooks, jig heads, and lures to any line when you want maximum holding strength with a quick tie.
Steps:
- Double about 6 inches of line to form a loop, then pass the loop through the hook eye.
- Tie a simple overhand knot with the doubled line, the hook hangs loose inside the knot at this point.
- Open the loop wide enough to pass the entire hook through it. Drop the hook through the loop.
- Wet the knot thoroughly before cinching.
- Pull the standing line and tag end together, away from the hook, to seat the knot snugly against the eye.
- Trim the tag end close.
The most common Palomar mistake is letting the loop twist during the overhand knot. Keep the loop flat and parallel; a twisted loop creates uneven pressure on one strand and reduces the knot's strength advantage.
3. Uni Knot
The uni knot (short for "universal") earns its name by adapting to almost any line type and diameter. It seats predictably on mono, fluorocarbon, and braid, which makes it the best single-knot option if you want one terminal knot to learn and stick with. It's slightly bulkier than the improved clinch but more reliable on braid and heavier mono.
What it's for: Attaching hooks, swivels, and lures to any line, especially useful on braid or when you're fishing heavier fluorocarbon leaders above 15 lb.
Steps:
- Thread 8–10 inches of line through the hook eye and fold it back alongside the standing line, creating a loop that extends several inches past the eye.
- Wrap the tag end around both the standing line and the loop six times, working toward the hook eye (on braid, use eight wraps to add friction).
- After the last wrap, pass the tag end through the loop.
- Wet the wraps and pull the tag end to draw the coils together, they should bunch into a neat barrel shape.
- Slide the finished knot down to the hook eye by pulling on the standing line.
- Seat firmly, then trim the tag end.
One practical advantage of the uni: you can adjust the knot's position before final seating, which helps if you're fishing in wind or cold conditions with clumsy fingers. On braid specifically, the extra wraps (eight instead of six) create enough friction to prevent the knot from sliding under load.
4. Non-Slip Mono Loop Knot
The three knots above all seat tight against the hook eye. That's ideal for most terminal tackle, but it's a disadvantage for lures that need to swing freely, a jerkbait or swimhead tied tight to the line has restricted action, and you'll get fewer strikes as a result. The non-slip mono loop (sometimes called the loop knot or Kreh loop) fixes that by leaving a fixed loop at the eye that lets the lure pivot naturally.
What it's for: Attaching lures, soft-plastic swimbaits, and topwater plugs to mono or fluorocarbon when you want the lure to move freely during the retrieve.
Steps:
- Tie a simple overhand knot in the standing line, leaving it loose. Leave a tag end of about 8–10 inches.
- Pass the tag end through the hook eye, then back through the overhand knot, entering from the same side you came out.
- Wrap the tag end around the standing line three times (two times on lines above 25 lb).
- Pass the tag end back through the overhand knot again, same direction you entered in step 2.
- Wet everything, then pull the standing line to tighten the overhand knot and form the fixed loop. The loop should sit snug against the lure eye without collapsing.
- Trim the tag end.
The size of the loop is determined by how far past the overhand knot you pass the tag end in step 2. Aim for a loop of roughly 1/4 to 1/2 inch, big enough to let the lure pivot, small enough that it doesn't get fouled on the hook point.
This knot works best on mono and fluorocarbon. On braid, the overhand knot base tends to slip; if you're fishing a braid leader, tie the loop into a short fluorocarbon leader and connect that to your braid with the double uni below.
5. Double Uni Knot (Line-to-Line)
Connecting two lengths of line is something beginners often avoid, but it's a genuinely useful skill. The most common application is adding a fluorocarbon leader to a braided main line, braid gives you sensitivity and low stretch, while a short fluoro leader is less visible to fish and more abrasion-resistant near the hook. The double uni handles this join cleanly and passes through rod guides without snagging.
For most freshwater applications, a 12–24 inch fluorocarbon leader is sufficient. If you're fishing clear water for pressured fish, go longer.
Also see our guide on rigging Texas-style soft plastics, which often starts with a braid-to-fluoro leader connection like this one.
What it's for: Joining braid to monofilament or fluorocarbon for a leader connection. Also works mono-to-mono.
Steps:
- Overlap the two line ends by about 6 inches so they run parallel in opposite directions.
- Take the braid end and form a loop over the fluorocarbon, then make six wraps of the braid tag end through the loop (eight wraps for braid lighter than 20 lb to increase friction).
- Pull the braid tag end to snug this half-knot down, but don't fully tighten yet.
- Now do the same with the fluorocarbon end: form a loop over the braid, then make five wraps through the loop (four wraps for heavier fluorocarbon above 20 lb).
- Snug the fluoro half-knot the same way.
- Wet both knots, then pull both standing lines in opposite directions simultaneously. The two half-knots slide together and lock against each other.
- Trim both tag ends close to the knot.
The finished connection should be a compact, symmetrical join that passes through guides smoothly. If one side unravels before the knots meet, you likely didn't wet thoroughly enough, moisture is essential for the wraps to slide and seat without friction damage.
Knot-Tying Tips That Actually Matter
Wet the knot before you cinch it. This is non-negotiable. Dry line generates friction heat as the knot seats, which weakens the line at exactly the point where strength matters most. A quick dip in the water or a lick is enough.
Tighten slowly and steadily. Yanking a knot tight in one fast pull often causes wraps to cross or stack unevenly. Pull with consistent, increasing pressure and watch the coils form into a tight barrel.
Trim tag ends short, but not flush. Leave about 1/8 inch on mono and fluoro, nothing, and the knot can creep loose over time; too much, and the tag end catches weeds or creates drag. On braid, trim as close as possible since the material is so stiff it won't slip back.
Test every knot before you cast. After tying, hold the standing line in one hand and pull hard against the hook or lure with the other. If the knot slips, it'll fail on the first fish. Better to find out on the bank.
Replace knots regularly. After landing a good fish, after a snag you had to pull free, or after a long day on the water, retie. Line at the knot point stretches and fatigues with use, and a fresh knot is cheap insurance.
FAQ
Which of these knots is easiest for a complete beginner?
The Palomar. It requires the fewest steps, and the doubled-line construction makes it forgiving of imperfect cinching. The only pitfall is keeping the loop from twisting, once you've done it a few times, it becomes the fastest knot to tie in the dark or cold.
Can I use the improved clinch knot on braided line?
Not reliably. Braid's slick coating lets the improved clinch slip under load, especially with heavy fish or fast retrieves. Stick to the uni or Palomar for braid-to-hook connections. If you're using braid with a fluorocarbon leader, use the double uni to join the two lines and then the Palomar or uni to attach terminal tackle to the fluoro end.
How do I know if I tied the knot correctly?
A well-tied clinch, Palomar, or uni should have evenly spaced, parallel wraps that compress into a smooth barrel shape when seated. If the wraps are crossing or stacking on top of each other, cut the knot off and start over. Also do a pull-test before casting, apply firm hand pressure, not just a gentle tug.
Does line diameter affect which knot I should use?
Yes, though the effects are gradual. As line gets heavier (above 15–17 lb), bulkier knots like the improved clinch become harder to seat because there's less room for the tag end to pass cleanly. The Palomar and uni both scale reasonably well through heavier diameters. For very heavy mono (30 lb and up, as for catfish or pike), consider the Trilene knot as an alternative to the improved clinch.
How often should I retie my terminal knot during a fishing session?
At minimum, retie after every large fish, every heavy snag, and every time you notice any nicks or abrasion in the last 12 inches of line. Many experienced anglers retie the terminal knot every hour or two as a habit, particularly when using fluorocarbon, which can develop micro-cracks from UV exposure over the course of a long day.
Tackle Theory is an independent freshwater-fishing resource. Our guides are researched and written in-house; we are not affiliated with, endorsed by, or sponsored by any tackle brand, guide service, or retailer. Fishing regulations, licenses, and seasons vary by location, always confirm current rules with your local fish and wildlife agency before you head out.